
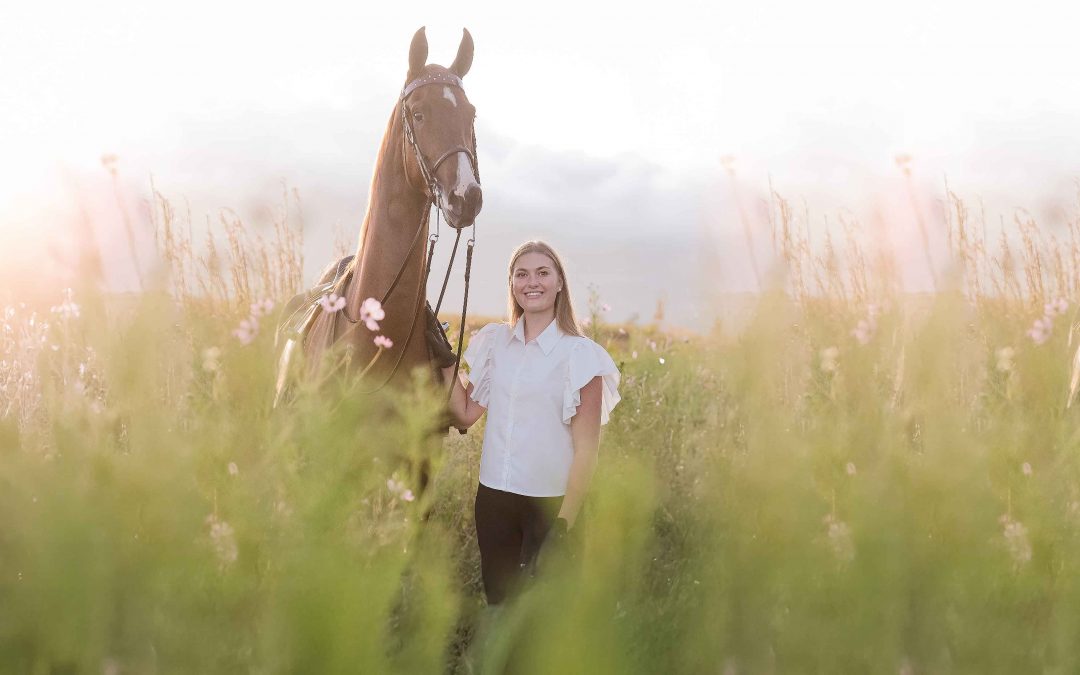
Horses are one of the most rewarding subjects a photographer can choose, and one of the most humbling. They move, they get bored, they have opinions, and they notice everything you do. This guide brings together what I have learnt photographing horses across South Africa: how to understand their behaviour, which equipment helps, how to use light and composition, how to capture movement, and how to edit with a light touch.
Start with the horse, not the camera
The best equine photographs come from understanding horses. A relaxed horse lowers its head, softens its eye and moves its ears calmly. A worried horse holds its head high, shows the white of its eye or swishes its tail. Learn to read these signs, and always put the horse’s comfort and safety first.
- Move slowly and speak quietly. Let the horse see and smell you and your camera before you start.
- Keep sessions short, with breaks. Horses tire of standing still long before people do.
- Work with the owner or a handler you trust. They know the horse and keep everyone safe.
- Pricked ears make a portrait. A helper behind you can rustle a bag, shake a bucket or call softly. Use these tricks sparingly, because horses soon ignore them.
Equipment that helps
You do not need expensive gear to begin, but a few choices make a real difference:
- A medium telephoto lens (roughly 70 to 200 mm) is the classic equine lens. It lets you stand back, which keeps the horse relaxed, and it flatters the head without distortion.
- Avoid wide-angle lenses up close. They exaggerate the nose and make the head look too large.
- A fast lens (a wide aperture such as f/2.8 or f/4) helps in low evening light and blurs a busy background.
- Spare batteries and cards, because the best moment often comes right at the end.
Camera settings to start with
- Portraits: aperture around f/2.8 to f/5.6, focusing on the eye nearest you. At very wide apertures, check that both eye and nostril are sharp enough.
- Movement: a shutter speed of at least 1/1000 s to freeze trotting and cantering. Use continuous autofocus and burst mode.
- ISO: raise it as the light fades. A little grain is far better than a blurred image.
If these words still feel like a foreign language, my one-day beginners photography course in St Francis Bay explains aperture, shutter speed and ISO in plain words, with plenty of practice.
Light
Golden hour, the hour after sunrise and before sunset, gives warm, soft light that flatters every coat colour. Backlight at this time creates a lovely rim of light around the mane and outline. Overcast days give even, gentle light that is ideal for portraits. Harsh midday sun is the most difficult: it casts dark shadows under the eyes and blows out light coats, so look for open shade instead.
For dramatic black background portraits, stand your horse just inside the opening of a dark stable or barn. The soft daylight falls on the head while the space behind disappears into shadow.
Composition and posing
- Shoot from around shoulder height. Shooting from above makes legs look short; from slightly lower, the horse looks strong and elegant.
- For a classic conformation view, stand side-on, level with the middle of the horse, with all four legs visible and the near legs slightly apart from the far legs.
- Watch the ears and the eye. Forward ears and a soft, bright eye are what make a portrait feel alive.
- Keep backgrounds simple. Move a few steps to avoid fences, cars or buckets growing out of the horse’s head.
- Leave space in the direction the horse is looking or moving.
Capturing movement and personality
For movement, ask the handler to lead or lunge the horse across your view rather than towards you, and pre-focus on the spot where the horse will pass. Look for the moment in the stride when the legs are extended and the head is up. Between the planned images, keep watching: a yawn, a nudge, a head resting on a shoulder. These unplanned moments often become the owner’s favourites.
Editing with a light touch
Good editing respects the horse. Correct white balance so coat colours stay true, lift the eye gently, clean up distractions such as stray hairs or a halter mark, and keep skin and coat texture natural. Choose one consistent style for a whole session so the images sit well together on a wall or in an album.
Common mistakes to avoid
- Working too close with a wide lens.
- Ignoring the background.
- Photographing in harsh midday light.
- Rushing the horse or making sessions too long.
- Missing focus on the eye.
- Forgetting safety: never stand directly behind a horse, and always keep a handler nearby.
Keep learning
Horse photography rewards patience more than anything else. Practise often, study the light at your local yard, and be kind to the horses in front of your lens. If you would like to learn in person, join my beginners photography course. If you would rather have your own horse photographed, see my horse photography sessions.
If you would love portraits like these of your own horse, you can read more about equine photography sessions, see recent work in the horse gallery, or simply tell me what you have in mind.